
Everyone has messed up rice at least once. Too sticky, still crunchy in the middle, or turned into a paste for glueing stamps. We imagine we need to watch it, stir it, taste it, and time it precisely. False.
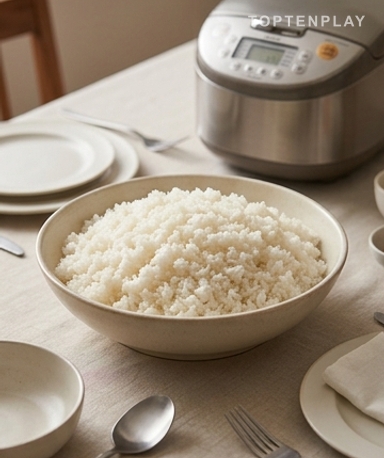
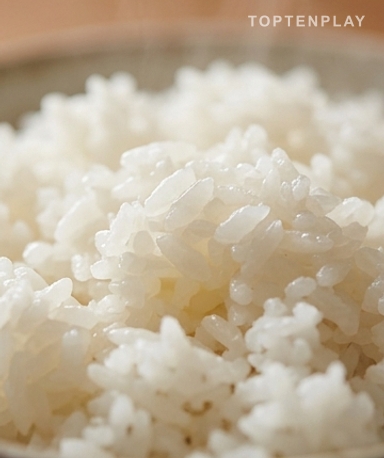
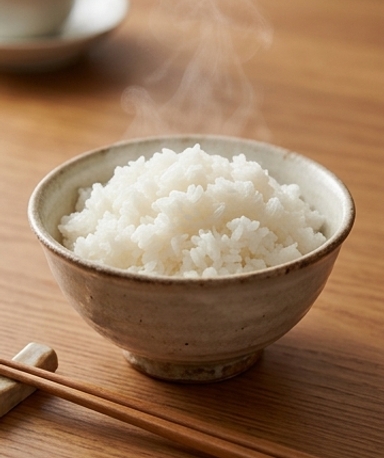
In the bowl, the grains are plump, slightly pearlescent, each one well separated from the others. No stuck bottom, no residual water. A sweet and slightly starchy smell rises as soon as you lift the lid — almost sweet, like warm bread. The texture under the fork is soft but firm, with that little resistance that indicates rice cooked exactly as it should be.
Why you’ll love this recipe
Ingredient Notes
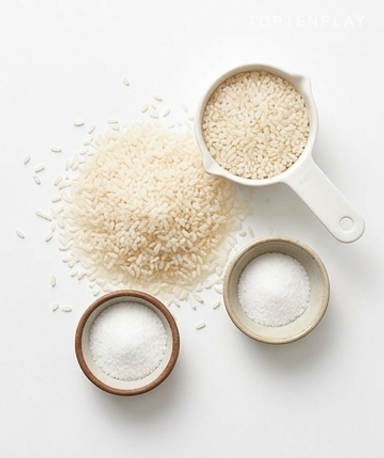
Simple ingredients for successful rice: long grain rice, water, and a pinch of salt.
- The rice : Basmati or Thai jasmine — these are the two that work best for everyday use. Their long grains cook evenly and stay well separated. Round rice (risotto or sushi type) is naturally stickier, which is its purpose, but for plain side-dish rice, long grain is what you need.
- The water : This is the only ratio to memorize: 1 measure of rice to 1.5 measures of water. Some rice cookers have their own internal markings — use them instead of your own utensils if the machine is equipped with them, they are calibrated for it.
- The salt : A pinch, really no more. The rice absorbs all the liquid during cooking and concentrates the salt. Salt lightly now, adjust on the plate later.
Rinse the rice — do not skip this step
Pour the rice into the bowl and run it under cold water. The water first becomes white and cloudy, loaded with starch. Continue until it turns clear — it takes 30 seconds, not three minutes. This surface starch is what glues the grains together. By removing it, you get airy rice where each grain remains independent. After rinsing, drain well before adding the cooking water.
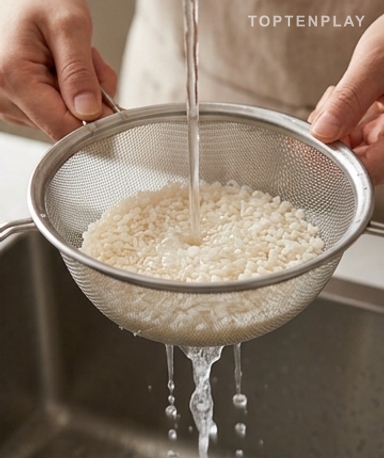
The right ratio, once and for all
Add cold water to the rinsed bowl. Basic ratio: 1 measure of rice to 1.5 measures of water. Prefer firmer rice? Go down to 1:1.3. Fluffier? Go up to 1:1.6. Add the salt now. Close the lid, press the button. That’s it. The machine handles the temperature rise, boiling, and absorption — you no longer intervene.
Don’t touch anything for 10 minutes
When the rice cooker switches to ‘keep warm’ mode, the temptation to open it immediately is great. Resist. Let it rest for 10 minutes with the lid closed. The steam continues to work, the grains finish swelling uniformly, and the moisture redistributes to the bottom. Open too early and you release this steam: the top dries out while the bottom remains wet, two different textures in the same bowl. After these 10 minutes, open, fluff gently with a spatula, and serve.
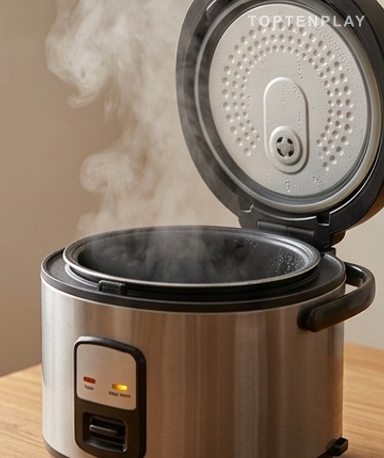
Tips & Tricks
- Always use the same measure for rice and water. The cup supplied with the rice cooker if you still have it, otherwise any glass. The important thing is that the ratio remains consistent — not the size of the measure.
- If your rice is still slightly crunchy at the end of cooking, add two tablespoons of water, close and restart for 3-4 minutes. This happens with old or very dry rice.
- For effortless fragrant rice: slip a bay leaf into the water before starting the cook. Subtle but it changes the vibe of the bowl, especially with a stew on the side.
What is the right water/rice ratio for a rice cooker?
The basic rule: 1 measure of rice to 1.5 measures of water. If you like firmer rice, switch to 1:1.3. For a softer result, go up to 1:1.6. Always use the same measure for both; the consistency of the ratio matters more than the size of the measure.
Do you really need to rinse rice before cooking it?
Yes, and it’s the step most people wrongly skip. Rinsing removes the surface starch that makes grains stick together. Rinse until the water becomes mostly clear — 30 seconds under the tap is enough.
How long can rice be left in ‘keep warm’ mode?
Up to 2 hours without a problem. Beyond that, the rice starts to dry out and take on a rubbery texture around the edges. If you have to wait longer, transfer it to an airtight container.
My rice is still crunchy after cooking, what should I do?
Add 2 to 3 tablespoons of water over it, close the lid and restart a cycle (or leave in ‘keep warm’ mode for an additional 10 minutes). This often happens with old rice or rice stored in a place that is too dry.
Can other grains be cooked in a rice cooker?
Yes: quinoa (ratio 1:1.75), millet (ratio 1:2), bulgur (ratio 1:1.5). Cooking times vary by machine, but the principle is the same. Avoid risotto rice or very fine grains that easily boil over.
How to store cooked rice?
In the refrigerator in an airtight container for 3 days maximum. To reheat: add a tablespoon of water, cover and microwave for 1 to 2 minutes. Cooked rice only freezes well if you cool it quickly after cooking — not after it has spent hours in ‘keep warm’ mode.
Rice Cooker Rice
Universal
Side dish
The simplest method to get perfect rice every time, without supervision and without failure.
Ingredients
- 300g (about 1.5 cups) long grain basmati or jasmine rice
- 450ml (about 2 cups) cold water
- 1 pinch fine salt
- 1 bay leaf (optional)
Instructions
- 1Pour the rice into the rice cooker bowl and rinse under cold water, stirring with your fingers until the water becomes mostly clear. Drain well.
- 2Add cold water, salt, and the bay leaf if using. Close the lid.
- 3Press the cook button. Do not open the lid during cooking.
- 4When the rice cooker switches to ‘keep warm’ mode, let it rest for 10 minutes with the lid closed.
- 5Open, remove the bay leaf, fluff gently with a spatula and serve.
Notes
• Storage: cooked rice keeps for 3 days in the refrigerator in an airtight container. To reheat, add 1 tablespoon of water and cover before microwaving.
• Fragrant variation: replace water with a light vegetable broth for a more flavorful rice to accompany meat or vegetables.
• If your rice cooker has its own internal markings, use them rather than your own measurements — they are calibrated for the machine.
Nutrition Facts (per serving, estimated)
| 265 kcalCalories | 5gProtein | 58gCarbs | 0.5gFat |