
Have you ever sliced a hard-boiled egg in half only to discover that greenish halo surrounding the yolk like a bad surprise? Nobody wants that little ring on their plate. And yet, you only need to understand why it forms to never see it again.
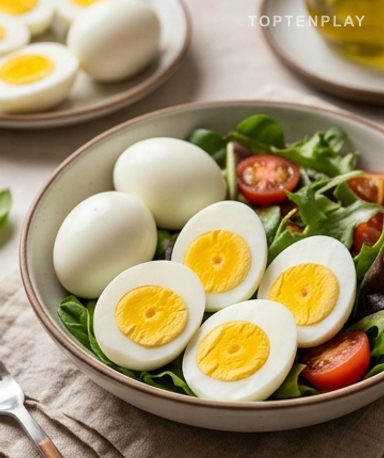
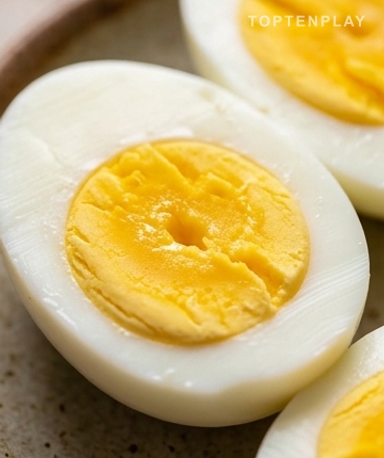
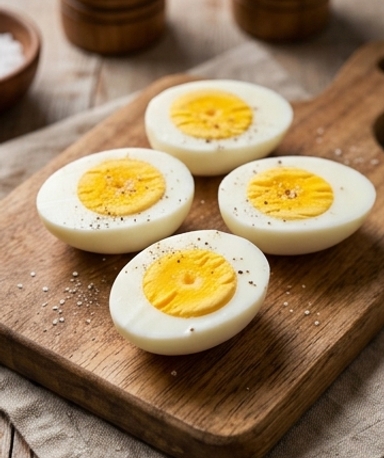
A successful hard-boiled egg is first and foremost a matter of color. The yolk should be a clear, matte yellow — that golden chalk hue, dense and uniform right to the center. The white should have a slight resistance to the bite, elastic without being rubbery, like fresh mozzarella. No acrid smell, no sticky texture. Just something clean and simple, just waiting for salt.
Why you’ll love this recipe
Ingredient Notes
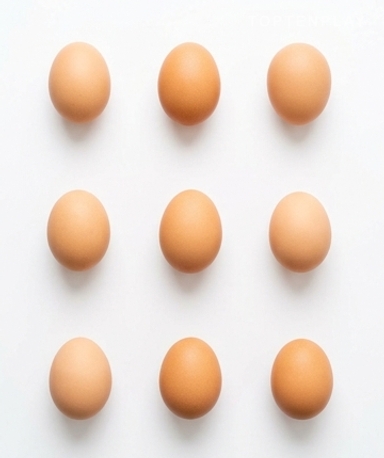
Nothing more than necessary: fresh eggs and a few ice cubes for the thermal shock that changes everything.
- The eggs : A detail few people know: an egg that is 8 to 10 days old peels much better than an ultra-fresh egg. The inner membrane sticks less to the shell with age. You won’t have this problem with supermarket eggs. And take them out of the fridge 10 minutes before — a cold egg plunged into a hot pot tends to crack.
- Starting with cold water : It sounds like a harmless habit. It isn’t. Starting with cold water allows the egg to heat up gradually with the liquid, which reduces the risk of cracking and results in more even cooking of the white.
- Ice cubes (or very cold water) : The step everyone skips because it seems optional. It’s not. Without this thermal shock, the egg continues to cook in its own heat for several minutes after you’ve turned off the stove — and that’s exactly the timeframe when sulfur and iron combine to form the greenish ring.
The chemistry behind the green ring — and why it’s a matter of seconds
The green ring isn’t a sign of a bad egg. It’s a chemical reaction. When the egg cooks for too long, the sulfur in the white and the iron in the yolk combine to form ferrous sulfide — that thin grey-greenish layer at the boundary of the two. It’s not toxic, but it’s ugly and slightly changes the taste, with that faint acrid note we’d rather avoid. The reaction only occurs once a certain temperature threshold is maintained for too long. A few seconds too many, and the halo appears — that’s why abruptly stopping the cooking changes everything.
Why I always start cold
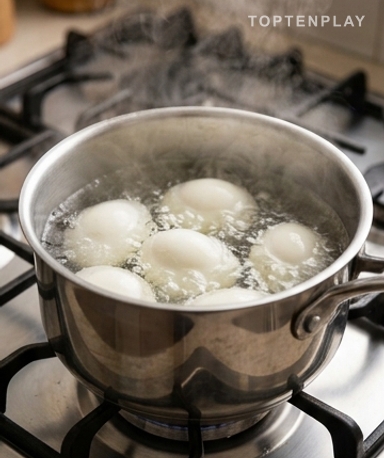
The temptation is to plunge eggs into already boiling water to save time. I get it. But this method gives less consistent results and encourages cracks — the sudden thermal shock makes the shell contract all at once. By starting cold, you let everything rise in temperature gently together. When the water starts to simmer and small bubbles form on the surface with that slight shivering sound, it’s time to turn off the heat. Not before, not after.
Exact timing: the only variable that really matters
Once the heat is off, you cover the pan and leave the eggs in the hot water. It’s during this phase that cooking finishes gently, without violence. For a yolk that is still slightly soft in the center — perfect for a salad — nine minutes is enough. For a completely firm yolk, crumbly like dry chalk, go up to twelve. Egg size also plays a role: a small egg will be ready before a large one, and over time you’ll find your personal sweet spot.
The ice bath I never skip anymore
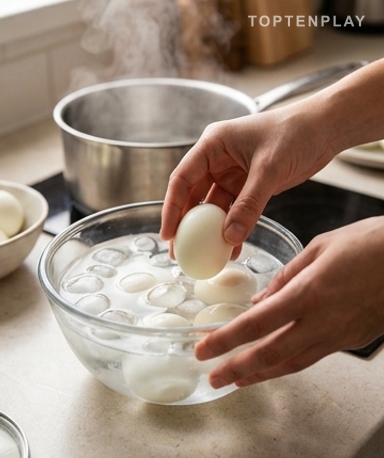
As soon as the time is up, the eggs go directly into a bowl of ice water. Not in five minutes. Now. The little sound of cold water gurgling around the still-hot shell is exactly the sound we want to hear — it means the cooking has stopped instantly. Two minutes in the bath, and you can peel them easily. The shell slides off, the white remains intact, and the yolk keeps that bright color that makes you want to eat it.
Tips & Tricks
- If you don’t have ice cubes on hand, the coldest possible tap water will do just fine — what matters is the sharp temperature contrast, not the ice cubes themselves.
- To check if an egg is cooked without cutting it: spin it on the counter. A hard-boiled egg spins fast and steadily. A raw egg wobbles because the liquid inside resists.
- Never layer eggs in the pan. A single layer, flat on the bottom — uniform cooking and you avoid shells bumping into each other and cracking.
How long can hard-boiled eggs be kept?
Unpeeled hard-boiled eggs can be kept for up to 7 days in the refrigerator, in their shells. Once peeled, consume them within 3 days, keeping them in an airtight container with a little cold water to prevent them from drying out.
Why do my eggs crack during cooking?
Most often, it’s thermal shock: an egg taken directly from the fridge and plunged into already hot water. Letting the eggs come to room temperature for 10 minutes before cooking and always starting in cold water virtually eliminates this problem.
Does this method also work for soft-boiled eggs?
Yes, exactly the same principle. Start cold, turn off the heat at the boil, and let rest for 5 to 6 minutes instead of 9 to 12. The thermal shock in ice water is even more important for soft-boiled eggs, as residual heat quickly overcooks a runny yolk.
Can hard-boiled eggs be reused in a hot dish without overcooking them?
Yes, but they should be added at the very end of cooking, just long enough to warm them through. Integrated too early into a hot sauce or an oven dish, they will harden further and the green ring may reappear despite a perfect initial cook.
How do you know if an egg is cooked without cutting it?
Spin it on the counter. A hard-boiled egg spins quickly and steadily. A raw or half-cooked egg wobbles because the liquid content inside resists the rotating movement.
Perfect Hard-Boiled Eggs
French
Basic / Appetizer
The three-step method — cold start, covered resting time, ice bath — for a bright golden yolk without a green halo every time.
Ingredients
- 4 eggs (medium size, at room temperature)
- 1 L cold water (for cooking)
- 200 g ice cubes (or very cold tap water for the bath)
- 1 pinch salt (optional, for the cooking water)
Instructions
- 1Remove the eggs from the refrigerator 10 minutes before cooking.
- 2Place the eggs in a single layer in a saucepan. Cover with cold water so that there is 3 to 5 cm of water above the eggs.
- 3Heat over medium heat until a full boil. Turn off the heat immediately.
- 4Cover the pan and let rest: 9 minutes for a slightly soft yolk, 12 minutes for a firm yolk.
- 5Meanwhile, prepare a large bowl of ice water.
- 6At the end of the resting time, immediately plunge the eggs into the ice water. Leave for 2 minutes.
- 7Peel and enjoy, or store in the shell in the refrigerator.
Notes
• Storage: unpeeled, hard-boiled eggs keep for 7 days in the fridge. Peeled, 3 days in an airtight container with a splash of water.
• Easy peeling: an egg that is 8 to 10 days old peels much better than an ultra-fresh egg, because the inner membrane adheres less to the shell with age.
• Soft-boiled variation: same method, reduce resting time to 5-6 minutes. The ice bath is even more important to stop the cooking of a runny yolk.
Nutrition Facts (per serving, estimated)
| 78 kcalCalories | 6 gProtein | 1 gCarbs | 5 gFat |