
Image d’illustration © TopTenPlay EN
The Perfect Solution For Damage-Free Wall Decor
Traditional wall hanging methods create a frustrating dilemma: choosing between blank walls and unsightly holes that haunt homeowners long after redecorating. Tacks, nails, and screws leave permanent damage that requires time-consuming repairs with wood glue or makeshift solutions like baking soda and toothpaste combinations.
The paperclip and magnet technique eliminates this problem entirely, offering a revolutionary approach that transforms how we display artwork. This method proves particularly valuable for renters facing strict no-holes policies and college students navigating dorm restrictions that prohibit wall damage.
Beyond damage prevention, this hack unlocks unprecedented creative freedom. Gallery wall enthusiasts can experiment with countless layouts without commitment, repositioning pieces until achieving the perfect arrangement. The flexibility to move artwork seasonally or based on mood becomes effortless when permanent holes aren’t a concern.
Time savings extend beyond installation to maintenance. While traditional methods require wall patching, sanding, and repainting when relocating artwork, the magnetic approach simply involves removing and repositioning components. This efficiency matters especially in rental situations where security deposits depend on returning walls to original condition.
The technique works best with lightweight items such as art prints and photographs, where the magnetic hold provides sufficient support without compromising safety. This limitation ensures the method remains practical while delivering on its promise of damage-free decoration that adapts to changing interior design needs.
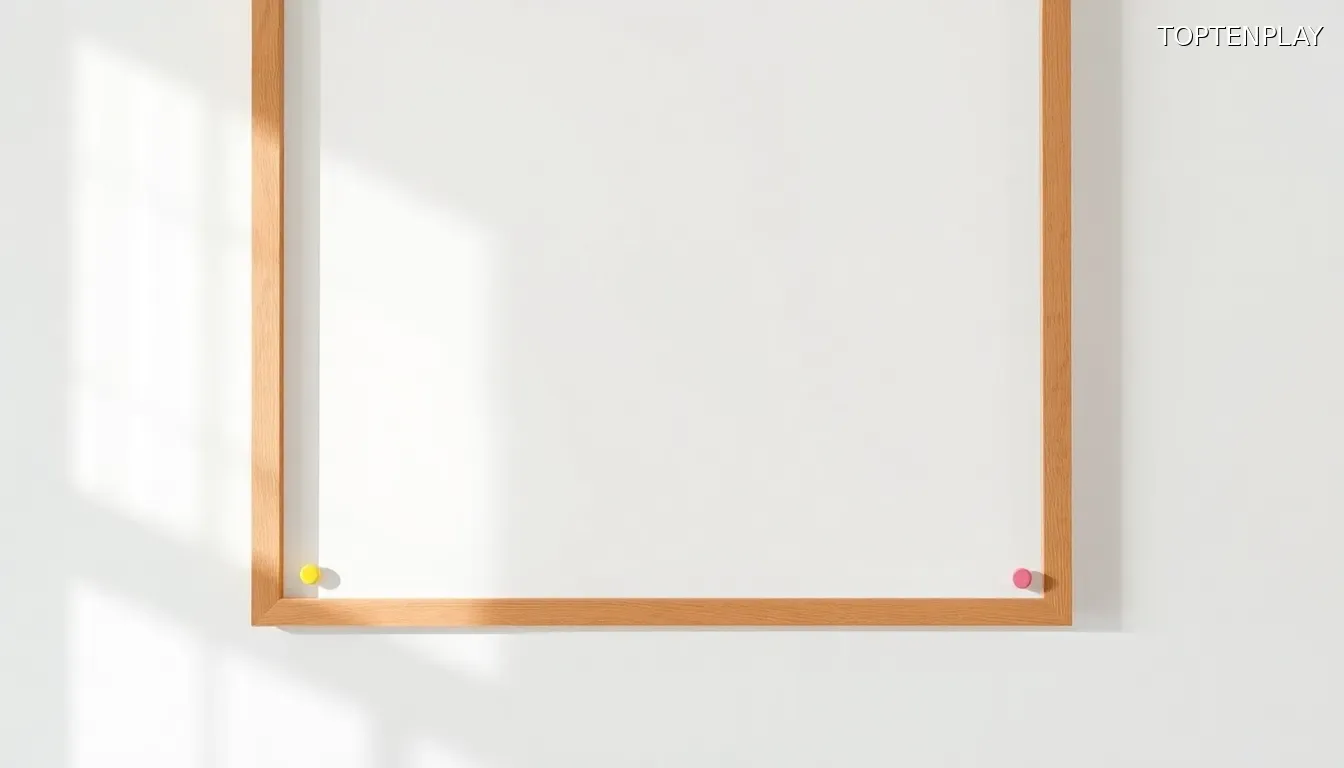
Image d’illustration © TopTenPlay EN
Step-by-Step Implementation Guide
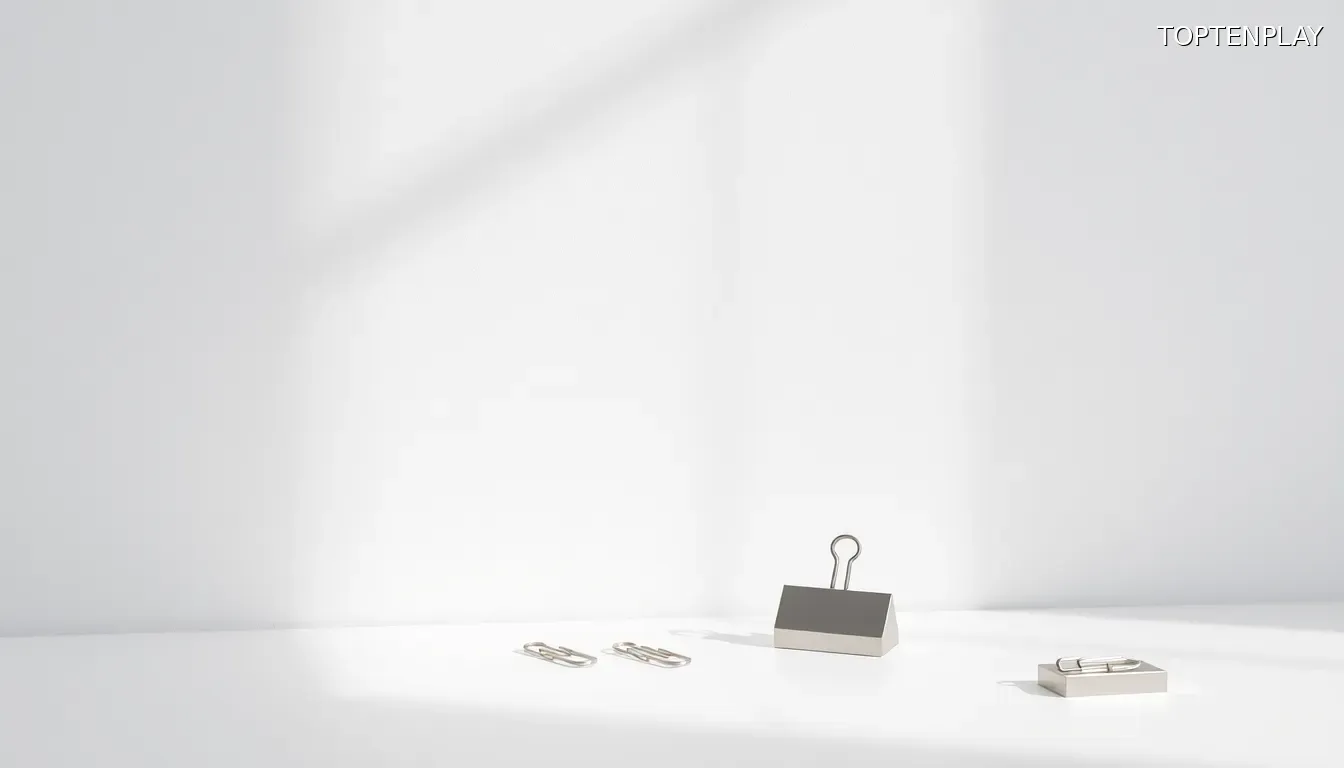
Mastering this technique requires precision in execution, yet the process remains remarkably straightforward. The foundation begins with masking tape placement – secure four paper clips to your wall, positioning one at each corner where your artwork will hang. This creates an invisible framework that supports the entire display.
Once your clips form the designated perimeter, place your artwork directly over them, ensuring proper alignment with the clip positions. The clips should remain barely visible behind the artwork’s edges, maintaining the illusion of floating decoration.
The final step involves securing four magnets to the artwork’s corners, creating the magnetic connection that holds everything in place. DIYMAG Small Rare Earth Magnets deliver exceptional holding power despite their compact size, making them ideal for this application.
Magnet selection opens creative possibilities beyond mere functionality. Themed magnets can complement your artwork’s subject matter – Favenson Food Fridge Magnets featuring wine and baguettes enhance travel photography from France, while KEYDUACU Flower Magnets perfectly accent botanical prints.
The magnetic strength must match your artwork’s weight and dimensions. Larger pieces require stronger magnets to maintain secure positioning, while smaller prints work effectively with decorative options that prioritize aesthetics alongside function.
This systematic approach ensures consistent results across different wall textures and artwork sizes. The method’s elegance lies in its simplicity – four attachment points create stable support without the complexity of traditional hanging hardware.
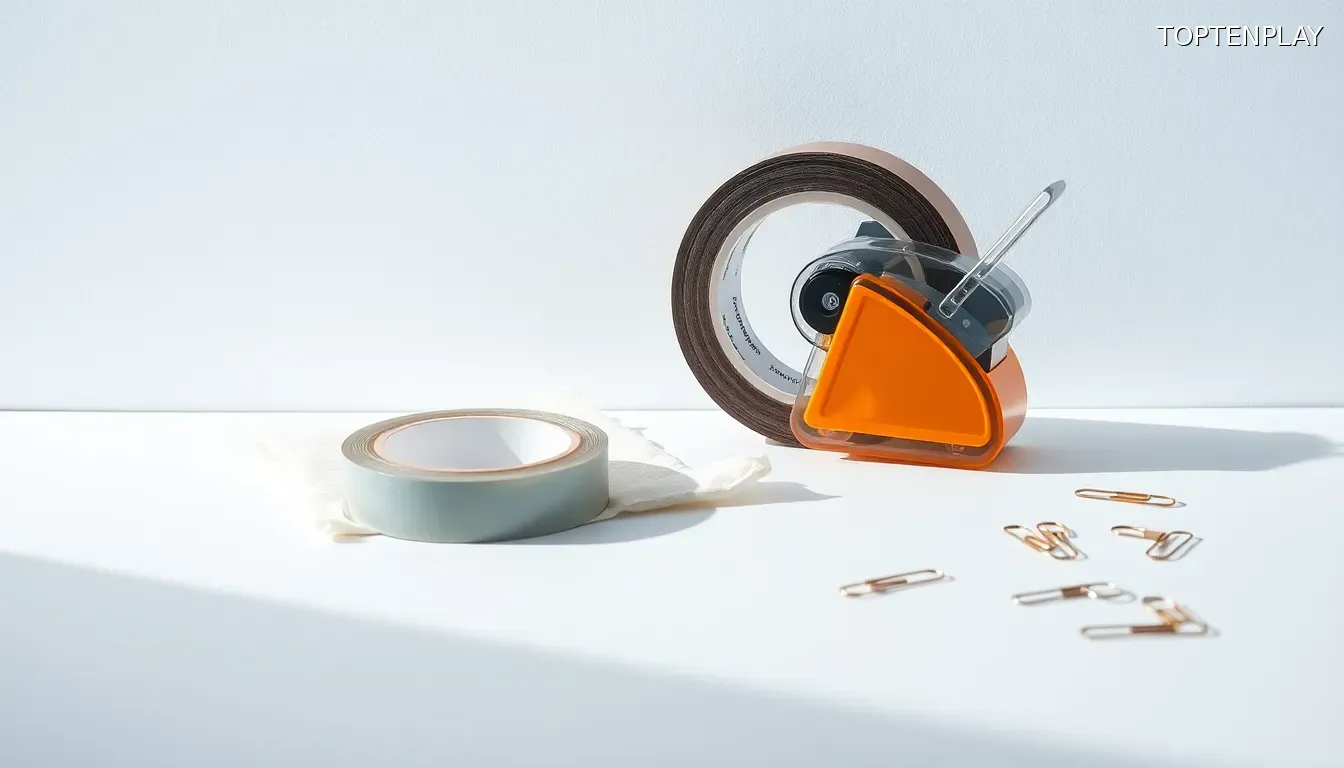
Image d’illustration © TopTenPlay EN
Troubleshooting Common Installation Issues
Despite this method’s inherent simplicity, adhesion challenges can occasionally disrupt the process. The most frequent culprit involves tape failure – when masking tape refuses to maintain its grip on wall surfaces, compromising the entire installation.
Wall preparation emerges as the critical factor determining success or failure. Even minimal amounts of grime, grease, or residual cleaning products can dramatically reduce masking tape’s adhesive properties. This invisible contamination creates a barrier that prevents proper bonding, leading to clips sliding down walls or artwork shifting unexpectedly.
The solution requires meticulous surface preparation. Clean walls completely using a dry cloth, removing all traces of dust, fingerprints, and accumulated residue. Allow surfaces to dry thoroughly before tape application – moisture trapped beneath masking tape creates immediate adhesion problems that worsen over time.
Weather conditions present another variable affecting tape performance. Humidity and temperature fluctuations can compromise even properly applied masking tape, particularly on challenging wall textures or painted surfaces with low adhesion properties.
When standard masking tape proves inadequate, double-sided tape offers superior holding power for difficult installations. This alternative creates stronger bonds with problematic surfaces while maintaining the damage-free philosophy essential to this technique.
These preventive measures ensure consistent results regardless of wall conditions or environmental factors. Proper preparation transforms potential frustrations into seamless installations, allowing the magnetic hanging system to perform at its optimal capacity across diverse living spaces and wall materials.
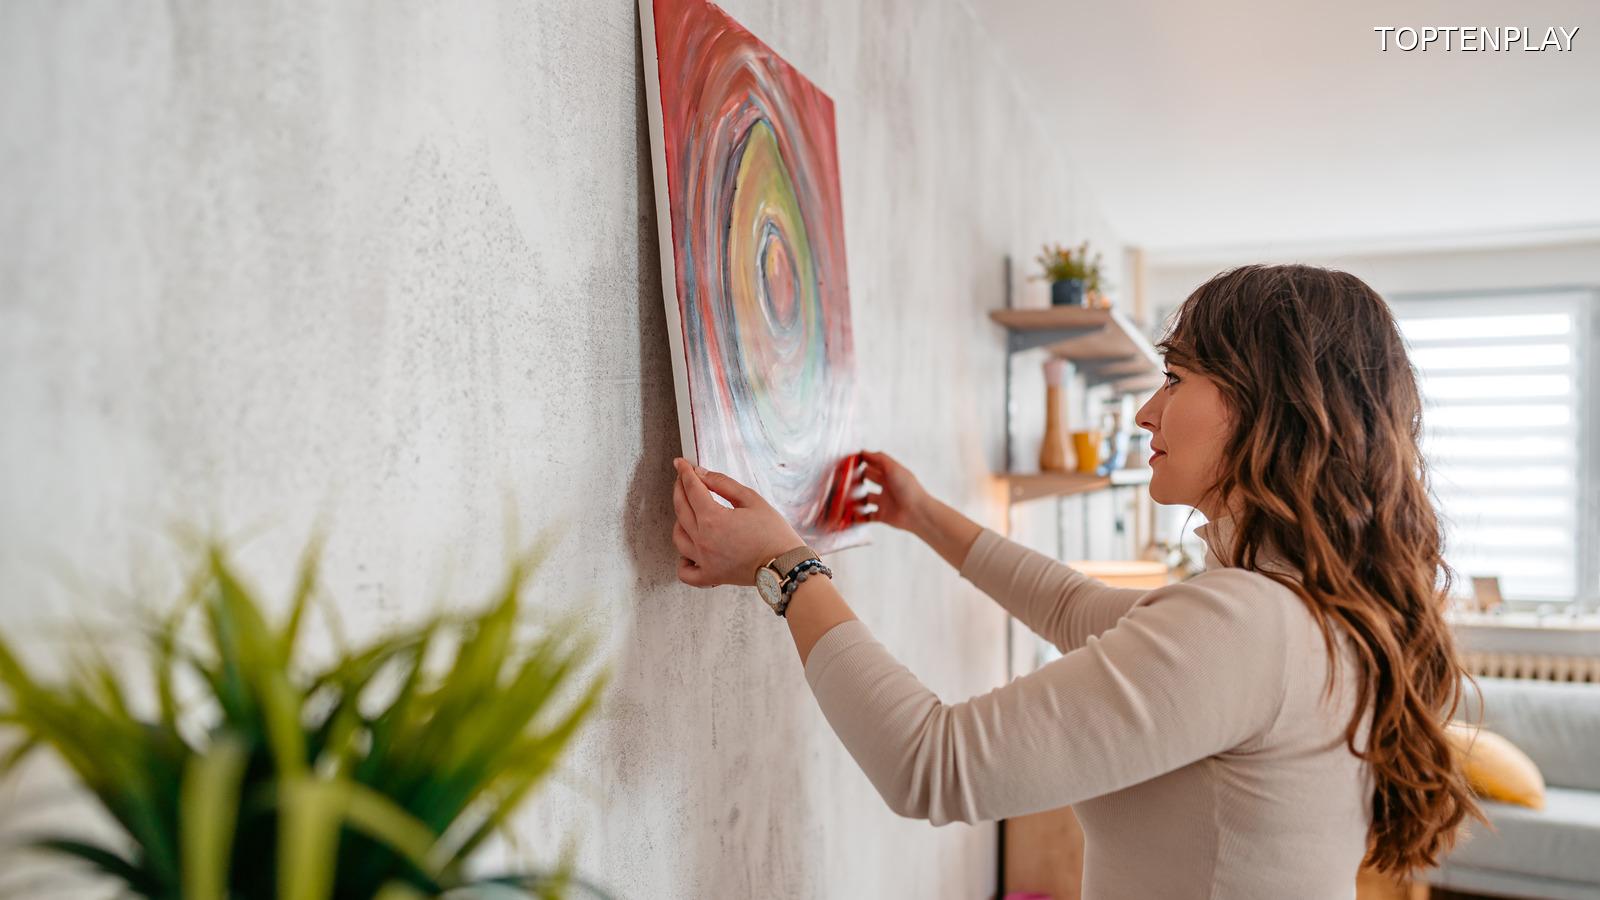
Image d’illustration © TopTenPlay EN
Advanced Applications And Frame Options
Beyond basic installations, this magnetic system accommodates more sophisticated display requirements through strategic enhancements. The seamless preparation techniques established in previous steps create the foundation for professional-grade presentations that rival traditional hanging methods.
Framed artwork presents unique considerations requiring modified approaches. The VAIIGO Magnetic Frames offer an elegant solution, combining protective benefits with the damage-free philosophy central to this technique. These thin magnetic frames feature specialized backing designed to interact seamlessly with paperclip anchors while adding visual sophistication to displayed pieces.
However, frame integration demands additional structural support. The combined weight of frame and artwork exceeds standard lightweight parameters, necessitating expanded paperclip placement. Instead of four corner clips, create a small border configuration using six to eight clips positioned around the frame’s perimeter. This distributed support system prevents sagging while maintaining secure adhesion across the entire display area.
Strategic clip placement becomes crucial for framed installations. Position additional clips at midpoints along longer frame edges, ensuring weight distribution remains balanced. This expanded anchor system accommodates the increased load while preserving the flexibility to reposition artwork without wall damage.
The magnetic frame approach transforms temporary displays into permanent-feeling installations. Protection from dust, fingerprints, and environmental factors extends artwork longevity while the underlying paperclip system preserves complete repositioning freedom. This combination delivers museum-quality presentation standards within rental-friendly parameters, proving that damage-free hanging methods need not compromise professional aesthetics or protective functionality.