In many people’s minds, homemade ice cream means a bulky ice cream maker and complicated techniques. In reality, this recipe boils down to one real skill: whipping cream. The rest is done by your freezer.
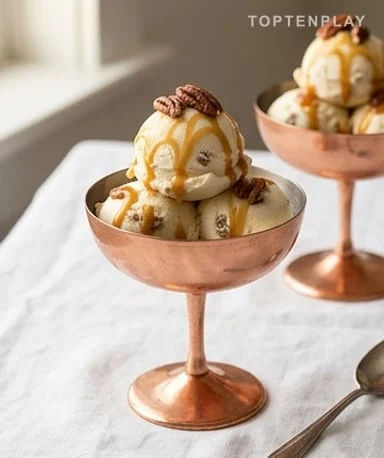
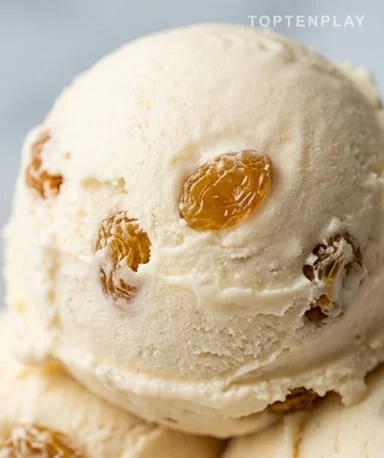
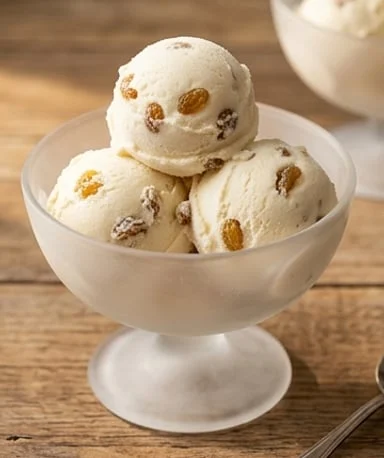
The result: creamy white scoops studded with plumped raisins that slightly catch under the spoon. The texture is dense without being hard, with that melt-in-the-mouth quality of artisan ice cream. The vanilla scent emerges as the scoop softens in the bowl. It’s simple, effective, and frankly better than anything you buy at the supermarket.
Why you’ll love this recipe
Ingredient Notes
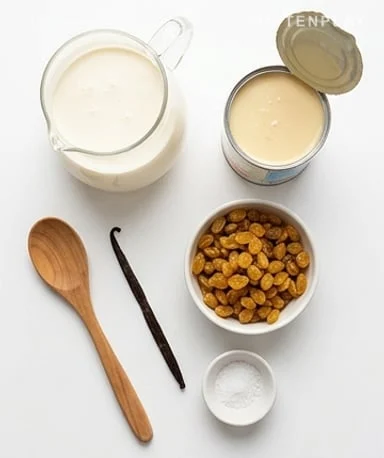
The base of the recipe: well-chilled heavy cream, sweetened condensed milk, golden raisins, and non-alcoholic rum extract for all the flavor.
- Heavy cream : It must be very cold, ideally straight from the fridge at the last moment. This gives volume and creaminess to the ice cream — low-fat cream won’t whip stiff enough and produces a disappointing grainy texture.
- Sweetened condensed milk : The sweetener and binder in one ingredient. Its high sugar content helps limit crystal formation during freezing — the trick that makes the texture so smooth without an ice cream maker.
- Golden raisins : Choose Corinth or Smyrna golden raisins, plumper than basic raisins. They absorb flavors better during soaking and stay tender even after several days in the freezer.
- Non-alcoholic rum extract : One teaspoon is enough to flavor the whole mixture. Combined with grape juice for soaking, it perfectly recreates the characteristic aromatic profile of this ice cream.
- Vanilla extract : Use a good quality extract, not artificial flavoring. Vanilla provides an aromatic base that balances the richness of the cream and condensed milk without overpowering.
Soaking the raisins
This is the step you’re tempted to skip, and that’s a mistake. Dry raisins are too compact for ice cream — they stay hard, flavorless, and ruin every bite. Mix them with a teaspoon of non-alcoholic rum extract and three tablespoons of black grape juice in a small bowl. Let rest for at least 30 minutes. After soaking, they are plump, slightly shiny, and give off a soft, enveloping aroma. Ideally, prepare them the day before and let them sit in the fridge overnight — the difference in tenderness is noticeable.
Whipping the cream without messing it up
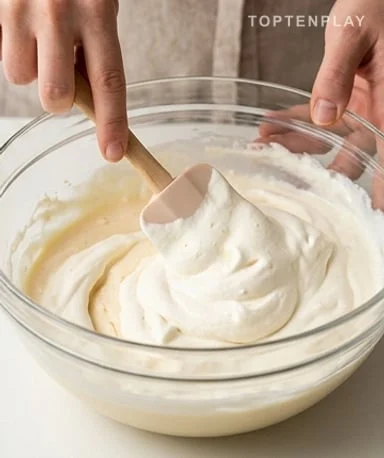
Pour the cream into a well-chilled bowl — 10 minutes in the freezer beforehand does the trick. Whip at medium speed, then increase gradually. You want a soft whipped cream that holds soft peaks, without becoming grainy or buttery. As soon as the cream forms stable trails under the whisk and no longer flows, stop. Over-whipping ruins the final texture. Better to stop a second too early than a second too late.
Assembling: use a spatula, not a whisk
In a large bowl, mix sweetened condensed milk, whole milk, vanilla, and a pinch of salt until smooth. Fold in the whipped cream in three additions using a flexible spatula, with slow bottom-to-top motions. The goal is to preserve the air you just incorporated into the cream — abrupt movements will deflate the mixture and produce a dense ice cream. Then add the raisins with all their soaking liquid and fold once more, gently.
Freezing: with or without an ice cream maker
With an ice cream maker, pour in the mixture and churn for 25 to 35 minutes until you get a soft, airy soft-serve texture. Transfer to an airtight container and let harden for another 2 hours. Without a machine, pour directly into the container, cover, and place in the freezer. For the first 3 hours, return every 30 minutes to vigorously stir with a fork — focusing on the edges that freeze first. This agitation breaks up the crystals that form and produces a much creamier texture. After 3 hours, let it freeze undisturbed until the next day.

Tips & Tricks
- Add a tablespoon of honey or glucose syrup to the base mixture: these sugars limit crystal formation and keep the ice cream soft for several days after initial freezing.
- Take the container out 8 to 10 minutes before serving. Ice cream that’s too cold loses its melt-in-the-mouth quality — this brief rest at room temperature makes all the difference.
- For a more indulgent version, drizzle caramel in a spiral into the container before freezing without stirring — this creates golden veins in the ice cream.
- If your raisins are particularly old or dry, let them plump in hot water for 5 minutes before soaking — they’ll then absorb flavors much more effectively.
Can you really make good ice cream without an ice cream maker?
Yes, provided you stir the mixture every 30 minutes for the first 3 hours of freezing. This agitation breaks up crystals and produces a creamy texture comparable to churned ice cream. The result is slightly less airy, but perfectly satisfactory.
Why is my ice cream too hard after freezing?
Ice cream that’s too hard usually comes from cream that wasn’t whipped enough or insufficient stirring in the first hours. Add a tablespoon of honey or glucose syrup to the base — these sugars limit crystal formation and keep the texture soft. Always take the container out 8 to 10 minutes before serving.
Can I replace the sweetened condensed milk?
Not without deeply modifying the recipe. Sweetened condensed milk plays two roles simultaneously: it sweetens the mixture and, thanks to its high sugar concentration, prevents large crystals from forming during freezing. A simple mix of sugar and regular milk will not have the same effect on the final texture.
How long can this ice cream be stored?
Up to two weeks in the freezer in a well-sealed airtight container. Beyond that, the texture tends to degrade and crystals form on the surface. Also cover the surface of the ice cream with plastic wrap directly on it for the first 48 hours — this prevents oxidation and drying.
Can I replace the raisins with something else?
Absolutely — finely chopped dried apricots, dried cranberries, or pitted dates work very well with the same soaking principle. Dark chocolate chips or caramelized nuts are also a good option, to be added directly without prior soaking.
Homemade Raisin Ice Cream (With or Without Ice Cream Maker)
French
Dessert
A creamy and fragrant ice cream with macerated raisins, no alcohol and no cooking. Equally good with or without an ice cream maker — just a little patience and well-chilled cream.
Ingredients
- 500 ml heavy cream, very cold
- 300 ml whole milk
- 200 g sweetened condensed milk
- 120 g golden raisins
- 3 tbsp black grape juice (for soaking)
- 1 tsp non-alcoholic rum extract
- 1 tsp vanilla extract
- 1 pinch salt
Instructions
- 1Mix the golden raisins with black grape juice and non-alcoholic rum extract in a small bowl. Let soak for at least 30 minutes — or overnight in the fridge for an even more flavorful result.
- 2In a large bowl, mix sweetened condensed milk, whole milk, vanilla extract, and a pinch of salt until smooth.
- 3In a well-chilled bowl, whip the heavy cream until you have a soft whipped cream that holds soft peaks. Stop as soon as it’s firm — over-whipping makes the ice cream dense.
- 4Fold the whipped cream into the milk/condensed milk mixture in three additions, using a flexible spatula, with slow bottom-to-top motions to preserve the air.
- 5Add the soaked raisins with all their liquid and fold once more gently.
- 6With an ice cream maker: pour the mixture and churn for 25 to 35 minutes until you get a creamy soft-serve texture. Transfer to an airtight container and let harden for 2 hours in the freezer.
- 7Without an ice cream maker: pour directly into an airtight container and place in the freezer. Stir vigorously with a fork every 30 minutes for the first 3 hours, focusing on the edges. Then let freeze completely.
- 8Take the container out 8 to 10 minutes before serving to restore full creaminess.
Notes
• Add 1 tablespoon of honey or glucose syrup to the base for a softer texture that keeps better over time.
• For a more indulgent version, drizzle caramel in a spiral into the container before freezing without stirring — this creates golden veins in each serving.
• The ice cream can be stored for up to 2 weeks in the freezer. Cover the surface with plastic wrap directly on it to prevent crystals and drying.
Nutrition Facts (per serving, estimated)
| 470 kcalCalories | 8 gProtein | 38 gCarbs | 33 gFat |